
New Year, New Smile! How I’m ringing in the New Year brighter than ever
Ok let’s get real here. I am a mom of 4 under 4, fresh off the full time hairstylist life. Coffee has been running in my veins for quite sometime now. And if you are a mom you know how rough pregnancy can be on your teeth! From all the “morning sickness” to the weird cravings, and the lemon water or whatever additive or drink obsession you had, your teeth were first in line for all the transitions!
I was desperate for a Whiter Smile in the New Year. I have tried white strips in the past once for my wedding, and once after my first born. I was never in love with the results or using the product itself. Discovering Smile Brilliants at home whitening treatment has been such a saving grace for a brighter smile! Not to mention the confidence boost when tired eyes and minimal make up have become the norm
So how does Smile Brilliants At Home Whitening treatment work?
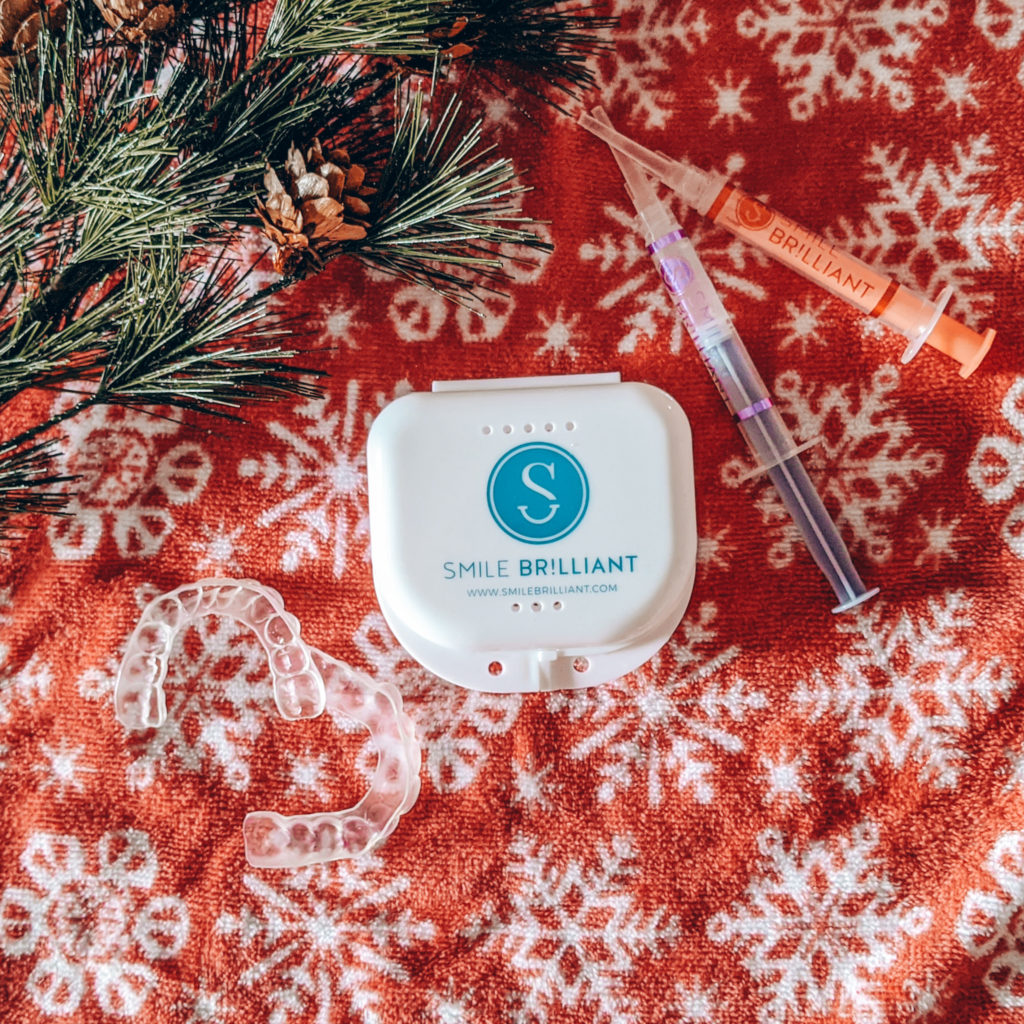
- Order your starter kit which comes with all of your whitening/desensitizing gel as well as a quick easy kit to make your impressions for your custom fit trays!
- Receive your kit: Read over your easy to follow directions, with tips, tricks, and full guide on the whitening process and impression steps!
- Make your impressions, return in prepaid envelope and receive your custom trays within a few days. *Note don’t hesitate to reach out to customer service or send photos before you send your impressions to make sure they were done correctly.
- Use your custom fit trays and gels to get the smile you have been waiting for! *I got about 3 uses out of each syringe!
Now let’s talk Pro’s and Con’s of Smile Brilliants at home whitening.
- Pros:
- Turn around time in receiving my whitening trays was quick!
- Custom fit trays made for such an easy application, as well as even coverage and results!
- Gels were mess free and minty.
- I could comfortably whiten while going about my usual activities without worrying about slipping or sliding of the trays.
- By my 7th treatment I was already LOVING the results. I did 12 total.
- The #1 dentist recommended whitening method is using custom fitted trays! And I didn’t have to spend upwards of $500 or find a babysitter so I could get dentist level whitening!
- Cons:
- My teeth got mildly sensitive a known side effect (swapping to every other day or every 2 days to whiten and the desensitizing gel cured this)
- Finding the perfect time to whiten took some massaging (I settled on nap time, and bedtime).
- My gums got sensitive my first longer session (it is however recommended you swipe your gums with coconut oil before hand) but I only had the issue once!
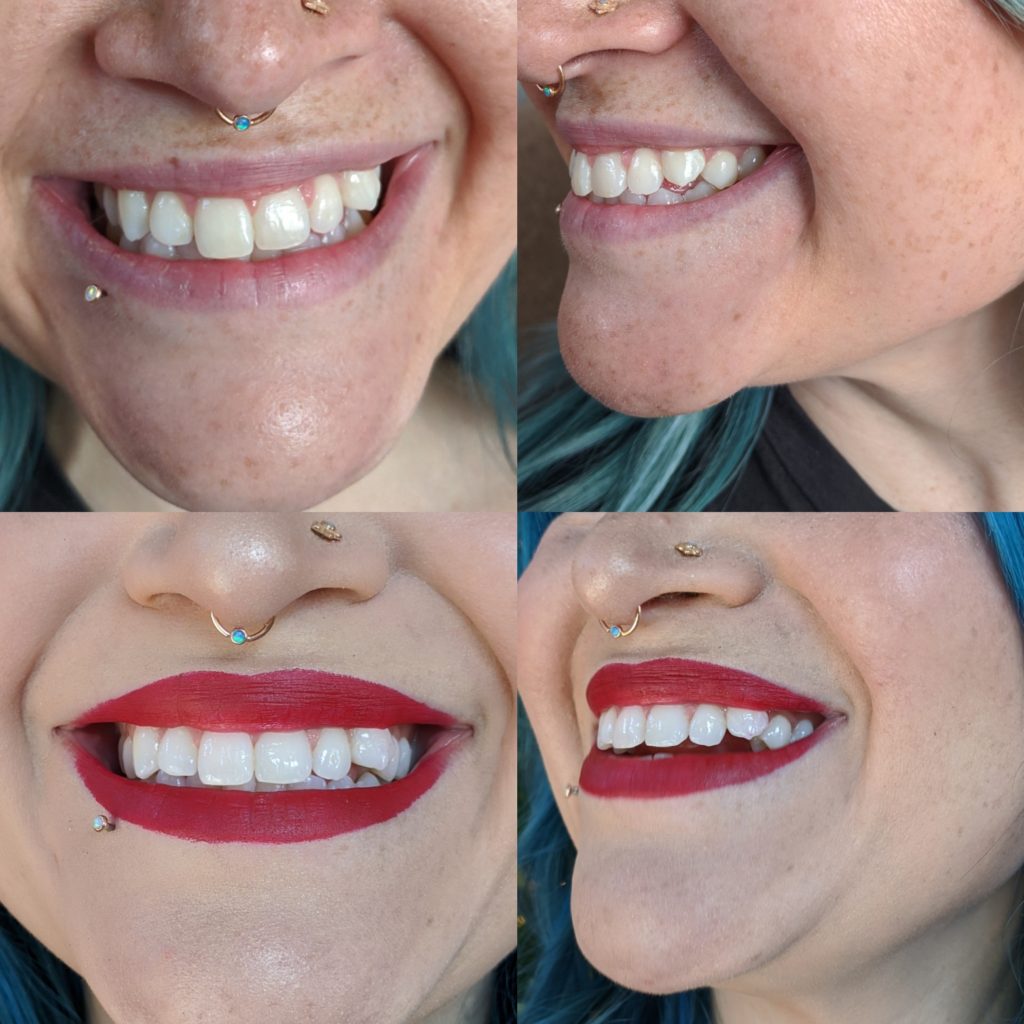
Now what about the results? Well see for yourself! Here are my Before and Afters.
So are you ready to smile brighter in the New Year? If I haven’t convinced you enough here is a little info graph to bust your qualms of at home whitening!
Now Because I love each and every one of you so much and was so pumped on finally renewing my smile, I want to give one of you the opportunity to win your very own Smile Brilliant at home whitening kit (valued at $149)! Just Follow this Link For a quick and easy entry: GIVEAWAY CLOSED 1/6/2019
No need to be sad you missed the giveaway you can use code: wordtoyourmoms15 for 15% off store wide!